Requirements for Schengen Visa Photos
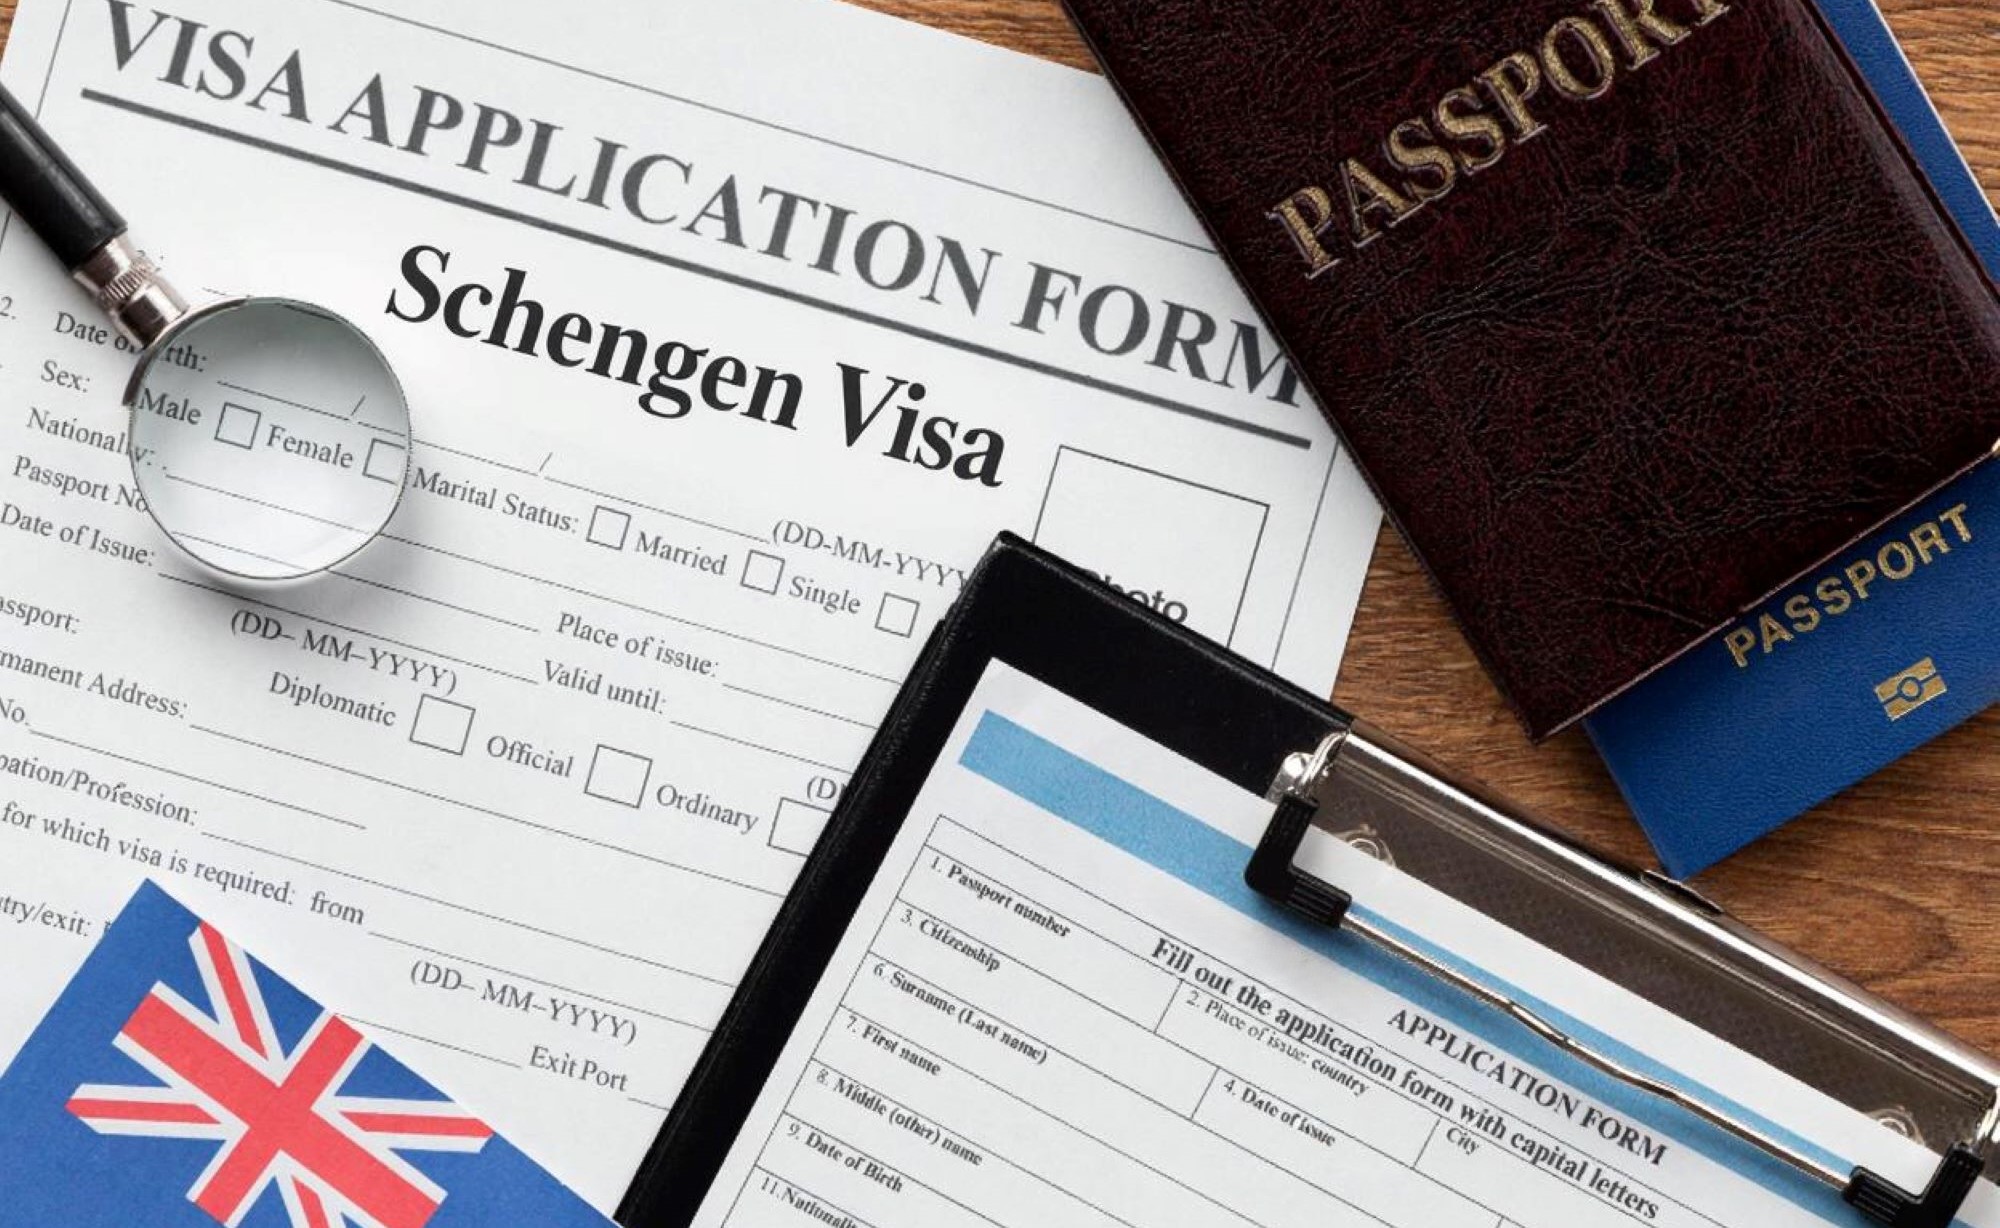
So, you’re dreaming about strolling the romantic streets of Paris, tasting pasta in Italy, or hiking the Alps? Then your Schengen visa is the magic ticket. But hold on — don’t mess up your photo! One small mistake in that tiny 35x45mm passport-sized photo, and you could get delayed or rejected. Yep, it’s that serious. Let’s break down every single thing you need to know about Schengen visa photo requirements so you can focus on your trip instead of stressing about paperwork. Whether you’re applying from India, the US, or anywhere else, the photo rules are universal across all 27 Schengen countries.
Schengen Visa Photo Dimensions – Get the Size Right First
When it comes to Schengen visa photos, size really matters. The photo you submit must be exactly 35mm wide and 45mm tall—no room for error here. Even a tiny deviation, like 36mm wide or 44mm tall, can lead to your application being rejected. This isn’t just a suggestion; it’s a strict requirement enforced by all Schengen embassies to ensure uniformity and ease of verification across all countries in the Schengen area.
But it’s not just about the overall photo size; the proportions within the photo are just as important. Your head—from the bottom of your chin to the top of your crown—should fill between 32mm and 36mm of the photo’s height. This means the face takes up roughly 70 to 80 percent of the entire frame. If your head is too small or too large, the photo won’t meet the biometric standards needed for official recognition.
The positioning of your eyes within the photo also plays a critical role. Your eyes should be placed approximately 20 to 30 millimeters from the bottom edge of the photo. This specific placement helps biometric systems accurately identify and match your facial features when you travel or go through border controls.
Getting these dimensions right might seem tedious, but it’s essential. A perfectly sized photo that follows these rules makes your application process smoother and faster, reducing the risk of delays caused by photo rejection. Think of it as the foundation of your visa application—if the base is off, the entire process can stumble. So, paying close attention to these measurements is your first step towards unlocking those European adventures.
Photo Background Requirements
- The background must be plain white or light grey — no other colors are allowed to ensure clear contrast with your face.
- It should be completely uniform without any visible patterns, textures, or gradients that might distract or interfere with identification.
- There must be no shadows on the background or behind your head, as shadows create uneven lighting and reduce photo quality.
- The background needs to be free of any objects or furniture, such as lamps, curtains, or picture frames, which could be mistaken for part of your profile.
- No other people or animals should appear anywhere in the background — you should be the only subject visible.
- Avoid any background clutter or distractions, even if they seem faint or out of focus, because they can affect biometric scanning.
- The lighting on the background must be even and balanced, without any bright spots or dark areas that break the uniformity.
- The surface of the background should be smooth, without wrinkles, stains, or marks that could show up on the photo.
- If you are taking the photo at home, use a plain white sheet or wall, making sure it is clean and well lit to avoid imperfections.
- Professional photo studios usually have dedicated backgrounds designed specifically for visa photos, which ensure compliance with these strict rules.
- The background’s simplicity helps facial recognition software focus on your facial features accurately without being confused by extraneous details.
- A busy or dark background can cause automatic rejection of your photo by embassy systems or require a retake, delaying your visa process.
- The background should not create any reflections or glare that might alter how your face appears on the photo.
- Even slight color casts or tinting on the background are unacceptable — it must be neutral and natural looking.
- Remember, embassies enforce these rules strictly because the background quality directly impacts the photo’s ability to be used for biometric identification.
Head Position and Facial Expression
| Requirement | Details | Why It Matters | Common Mistakes | Tips for Getting It Right |
| Face Orientation | Face must be looking directly at the camera | Ensures clear identification and matches biometric requirements | Tilting or turning head sideways | Position camera at eye level and look straight ahead |
| Centering | Face should be perfectly centered in the frame | Prevents cropping important features and keeps balance | Face off-center or cut off edges | Use a tripod or ask someone to help frame properly |
| Eyes | Eyes open, clearly visible, no red-eye | Eyes are key biometric markers for identification | Closed eyes, squinting, or red-eye | Relax, blink before photo, use good lighting to avoid red-eye |
| Facial Expression | Neutral expression – no smile, laugh, or frown | Maintains consistency for official documentation | Smiling, laughing, or exaggerated expressions | Think “passport photo” – keep lips closed and face relaxed |
| Mouth Position | Mouth closed | Avoids distortion of facial features and ensures clarity | Open mouth or showing teeth | Take a deep breath and gently close your mouth before photo |
What to Wear (And What Not To)
When preparing your Schengen visa photo, choosing the right clothing is more important than many people realize. It’s best to keep your outfit simple and modest to ensure your face remains the main focus. Dark-colored clothes are generally recommended because they provide a strong contrast against the light background, helping to clearly outline your head and shoulders. Additionally, wearing clothes that cover your shoulders and chest creates a neat and professional appearance, which is preferred for official documents like visa photos.
Avoid wearing uniforms or clothing that looks like one, as most embassies explicitly disallow uniforms except for religious attire. Bright or flashy colors that blend too closely with the background, such as white or very pale shades, should also be avoided. These colors reduce contrast and can make your outline blurry, which could affect the clarity of your photo. Headwear, such as hats or caps, is generally not permitted unless it is worn for religious reasons.
For those who wear religious head coverings like hijabs or turbans, specific guidelines apply. Your entire face must be fully visible—from the bottom of your chin to the top of your forehead—and the headwear should not cast any shadows on your face. It’s important that no part of your facial features is obscured by the covering, as the photo must clearly show who you are for identification purposes.
These rules are designed to ensure that your facial features are clearly recognizable without distractions or concealment. Following these clothing and headwear guidelines carefully will help you avoid having your visa photo rejected and ensure your application moves forward smoothly. Ultimately, the goal is to present a clear, unobstructed image that makes identification easy for officials.
Photo Age – How Recent Should It Be?
- The photo submitted with your Schengen visa application must have been taken within the last six months to accurately represent your current appearance.
- This ensures that border officials and biometric systems can confidently match the photo to the person standing in front of them.
- If your appearance has changed significantly since your last photo, you must provide a new one that reflects those changes.
- Changes considered significant include growing or shaving a beard, which can drastically alter the shape and look of your face.
- If you have dyed your hair a different color, especially unusual or bright colors like purple, this also requires a new photo.
- Cosmetic surgery or any medical procedures that affect your facial features mean your previous photo is no longer valid.
- Even less obvious changes, like substantial weight gain or loss that alters your face shape, should prompt you to update your photo.
- Photos older than six months risk being rejected because they no longer accurately represent who you are.
- Using outdated photos can cause delays or refusal in your visa application process.
- Always aim to take your photo as close as possible to your visa appointment or application submission date.
- If you frequently change your look (hair style, facial hair, accessories), plan to update your photo accordingly.
- Remember that a fresh, current photo helps avoid unnecessary complications and speeds up the processing time.
- Keep in mind that some embassies may request you to provide recent photos even if you previously submitted one, so having up-to-date pictures on hand is smart.
- When in doubt, it’s better to retake your photo than risk rejection due to an outdated image.
- Ultimately, the photo must give a true, clear, and honest representation of your current self at the time of application.
Can You Use Digital or Printed Photos?
| Aspect | Details | Why It Matters | Common Issues | Tips for Compliance |
| Printed Photos Needed | Two identical printed copies required for submission | Physical photos are standard for visa processing and verification | Submitting only digital copies or poor-quality prints | Always print on quality photo paper with proper resolution |
| Photo Finish | Acceptable finishes include glossy or matte | Ensures durability and clarity of the photo | Using low-quality paper or uneven finishes | Choose professional printing services or high-quality printers |
| Borders | Photos must have no borders around edges | Borders interfere with scanning and cropping | Photos with white or colored borders rejected | Crop photos carefully before printing or ask photographer |
| Resolution | Minimum resolution of 600 dpi recommended | High resolution ensures sharpness and detail in photo | Blurry, pixelated, or low-resolution images get rejected | Use professional cameras and printers to maintain quality |
| Digital Submission | Generally not accepted unless applying online (rare) | Most embassies require physical photos with the application | Attempting to submit only digital files leads to rejection or delay | Verify embassy requirements beforehand and prepare printed copies accordingly |
Schengen Visa Photo Table – Quick Glance Summary
When preparing your Schengen visa photo, several key requirements must be met to ensure your application is accepted without delays. The photo size is strictly defined at 35mm wide by 45mm tall, a standard that all applicants must follow without exception. This specific size helps maintain uniformity across all applications and ensures that facial recognition systems can accurately process your image.
Within this frame, your head size is equally important. The head should measure between 32mm and 36mm from chin to crown, which means your face occupies about 70 to 80 percent of the photo. This proportion allows the image to clearly capture your facial features while keeping enough space around your head for proper framing. Any deviation from these measurements can cause the photo to be rejected.
The background of your photo must be either light grey or plain white, providing a clean, distraction-free contrast with your face. Your expression should be neutral—no smiles or other facial expressions—to maintain consistency with official identification standards. Your eyes must be open and clearly visible, which is crucial for biometric identification. Headgear is only allowed if worn for religious reasons, but your entire face must remain visible, with no shadows cast on your features.
Other important factors include glasses, which are permitted only if they don’t create reflections or tints that obscure your eyes. The photo quality must be high resolution and printed on good-quality paper without any filters or digital enhancements. The image should have been taken within the last six months to accurately reflect your current appearance. Finally, you must submit two identical copies of the photo along with your visa application. Paying close attention to all these details will help ensure a smooth application process.